NDT SERVICE
Surface NDT
Visual Testing
Visual Inspection or Visual Testing (VT) requires line-of-sight contact with the portion of the specimen to be inspected, adequate illumination of the test specimen, a thorough understanding of the nature and origin of discontinuities and potential defects within the test object, and familiarity with the specifications controlling the inspection process. Unless the specimen cannot be examined visually, visual testing should be the first part of any NDT examination. Visual testing presents several real advantages: simplicity, rapidity, low cost, minimal training and equipment requirements, and the ability to be performed while the specimen is being used or processedLiquid Penetrant Testing
Liquid penetrant testing is widely used to detect surface breaking flaws in both ferrous and non-ferrous parts.Magnetic Particle Inspection
Magnetic particle inspection (MPI) is a widely used to detect flaws in ferromagnetic materials. It is used to locate surface and near surface defects such as cracks, laps, seams and inclusions.NDT SERVICE
Volume NDT

Conventionel and digital RT
Radiography makes it possible to carry out a non-destructive test on different types of materials and to highlight internal defects, for example blisters, porosities, shrinking or internal cracks in the part.
Conventionel UT
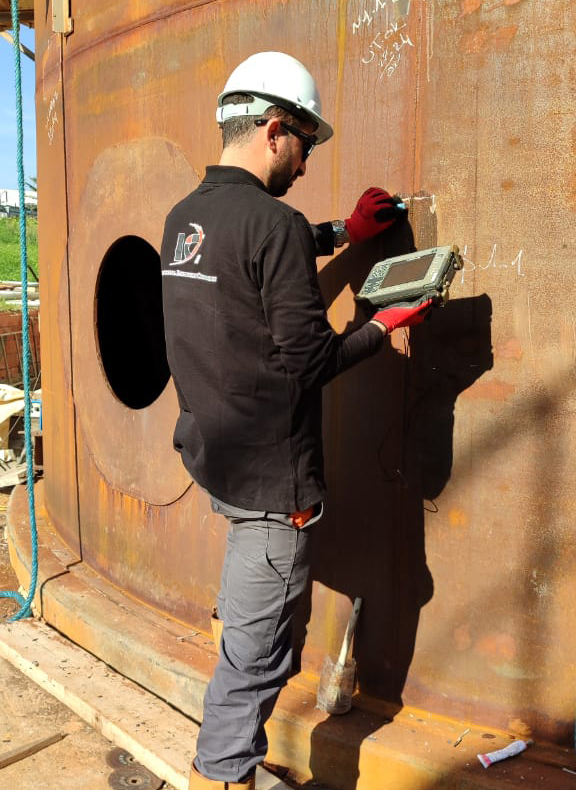
Ultrasonic testing is a nondestructive testing method for detecting faults inside a material. Ultrasonic testing is based on the transmission and reflection of ultrasonic waves inside a material.
PAUT
PAUT – TOFD
TOFD
TFM
RMS
ECT
MFL
Guided Waves
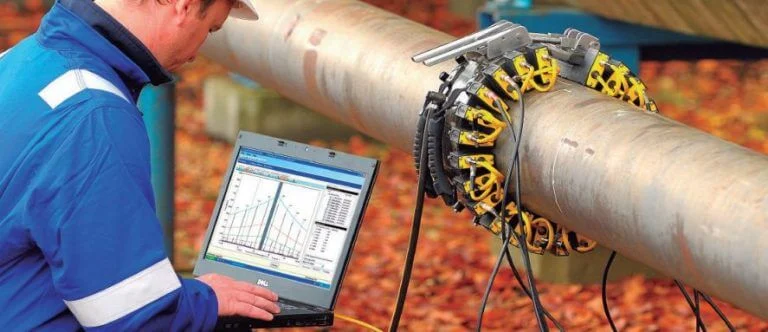
NDT Services
PAUT-Corrosion Mapping
NDT Services
PAUT-Corrosion Inspection
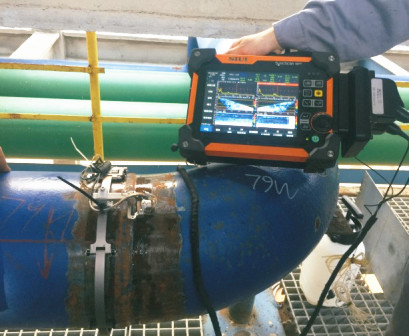
| Phased Array or PAUT is one of the most advanced form of UT that offers a much higher degree of capabilities over conventional UT. |
|---|
| The basis of PAUT is similar to conventional UT, where sound waves are induced into a material to relay a return pulse for discontinuity evaluations. |
| The advancement is the fact that many angles can be used at one time to scan any material at angles from 40 to 70 degrees showing the technician a full volumetric scan of a given part. |
| Up to 32 elements are used simultaneously as opposed to a single element as with conventional UT. PAUT weld inspection is performed using a semi-auto- matic or automatic, encoded scanner to accurately determine location, size, depth and orientation of an indication. |
NDT Services
TOFD Weld Inspection
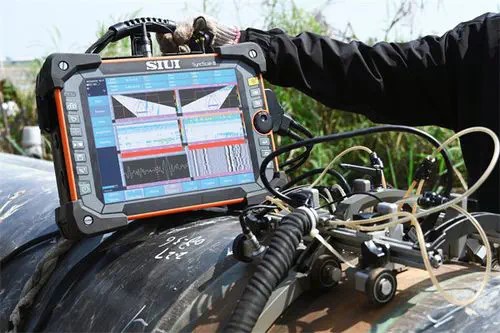
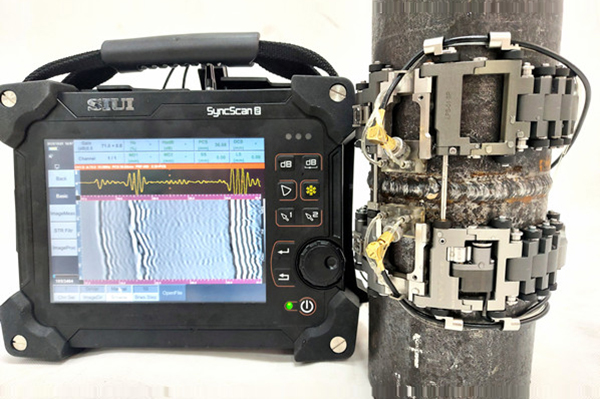
The main principle of TOFD consists in enlighting the controlled volume with the help of a couple of highly defocused transducers made of on emitter and one receiver placed opposite one another.
The detection principle relies on the display on a B-scan graphical view of the diffraction echoes generated at the extremities of the planar defects.
| Allows to inspect the volume and to characterize the detected indications. | High speed inspection compared to Oper gammagraphy. |
|---|---|
| A variety of equipments to easily inspect | Applicable on metallic products, pipes, boilers… |
NDT Services TFM/FMC
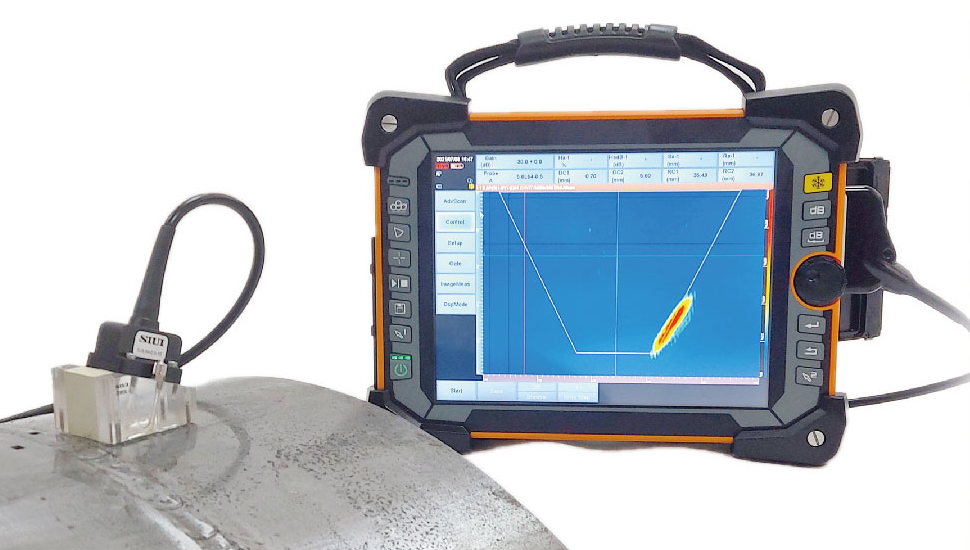
TFM is one of several post-processing algorithms that, once the FMC is complete, reconstructs the data to generate basic, easy-to-understand high resolution images of the area of interest. TFM enables utilization of all data collected from FMC, producing very large, high-resolution files. Correspondingly, the data collection process takes time and requires significant storage space. (NOTE: a very good computer is required to process the data and perform analysis)
Some common damage mechanisms able to be detected and sized by FMC and TFM include, but are not limited to:
| Some common damage mechanisms able to be detected and sized by FMC and TFM include, but are not limited to: |
|---|
| HTHA |
| Early stage cracking/HIC |
| SOHIC |
| Creep |
| Intergranular Corrosion cracking (PASCC) |
| Volumetric defects |
| Blister periphery cracking confirmation and sizing |
